Installation Instructions for Windows
This document will walk you through the steps you need to perform to install and configure Jupyter Lab, the development software you will use for CS220. You need to perform 5 steps:
- Download and install Anaconda
- Change the Python version
- Enable the debugger
- Associate notebook files with Jupyter lab
- Test your configuration
1. Download and install Anaconda
Anaconda is a suite of software programs used for data science. In a browser go to Anaconda's download page https://www.anaconda.com/download/ to download the software. You can either provide an email address and click the submit button or click the Skip registration to bypass providing your email.
On the download page, it should have detected your operating system and provided a link at the top of the page for the proper version.

Download and run the installer. On the "Install for:" page select "Just Me (recommended)" and then accept the default installation folder.


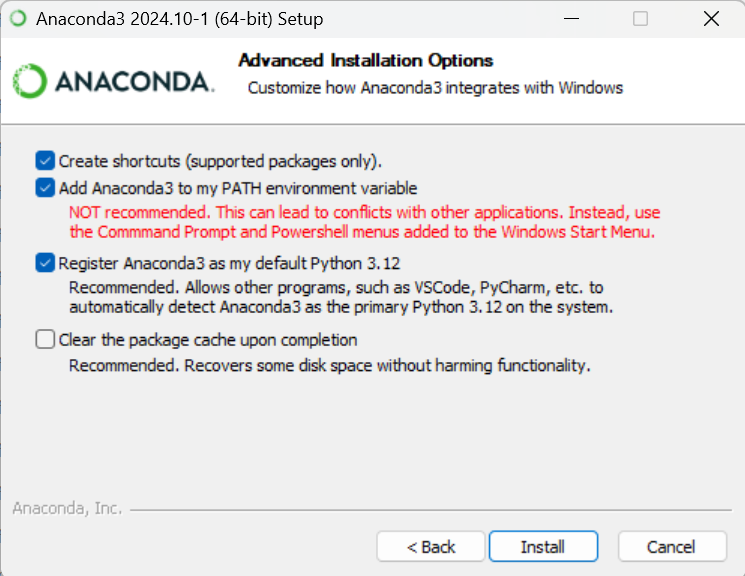
On the Advanced Installation Options, keep the default first and third checkmarks to create a shortcut and register Anaconda3 as the default for Python. Keep the second checkmarks to allow using conda in command prompt (which we will learn about it later).
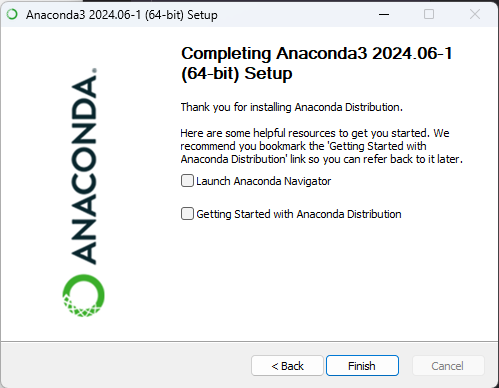
Finish running the installer.
2a. Change Python version
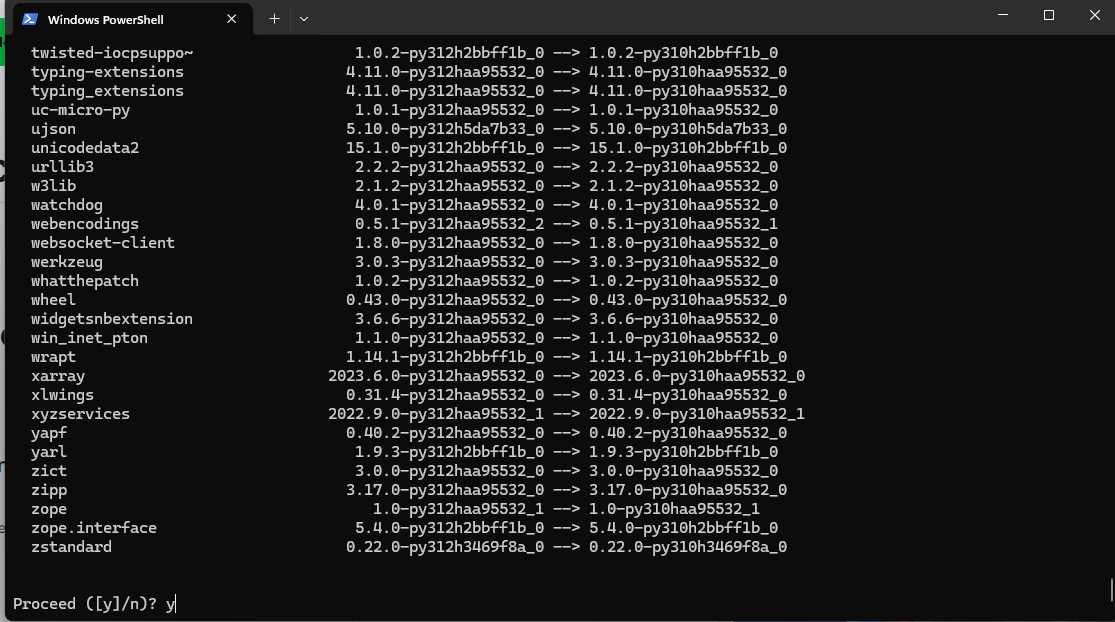
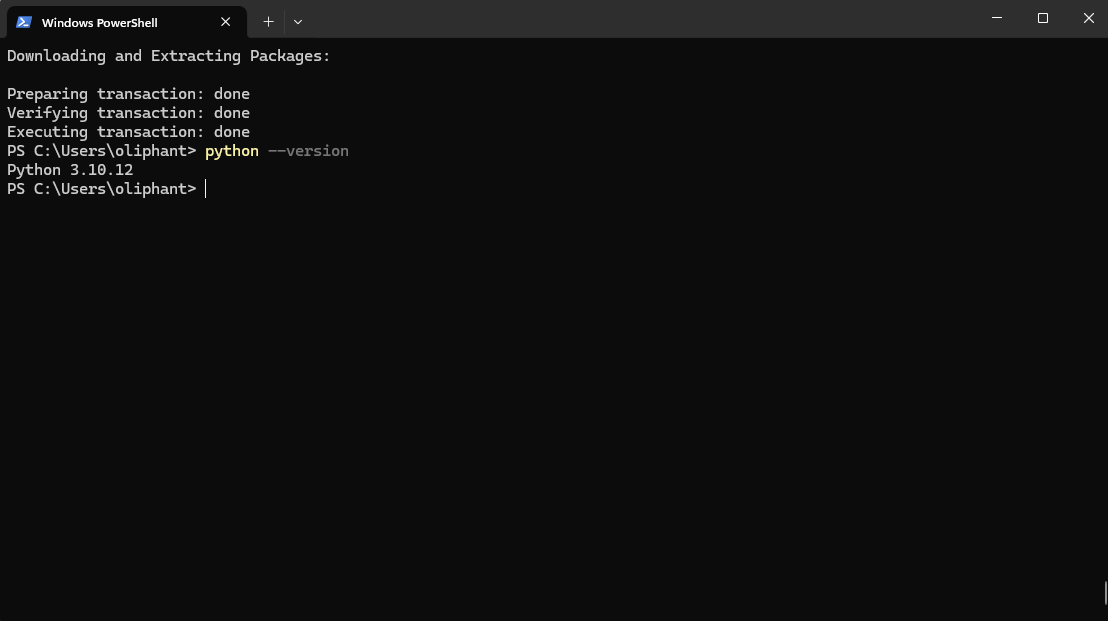
You will be submitting your code to our grader, which is running a slightly older version of Python, version 3.10.12. So you need to make sure you are running the same version on your computer. Click on the windows logo and in the search box type "shell". You should see an option to run Windows PowerShell where you can type commands. Click to launch this program. Type the command conda install python=3.10.12 and press enter. Follow the instructions to have it proceed and install that version of Python. When it is finished you can check that it has installed the proper version by typing python --version.

2b. Install ipylab
Next, we will have you run one more command in the Terminal to install ipylab, which is a package that will help us work with JupyterLab. In the Terminal, type in the following command and hit Enter, following any instructions to install if prompted.
conda install conda-forge::ipylab
3. Enable the debugger
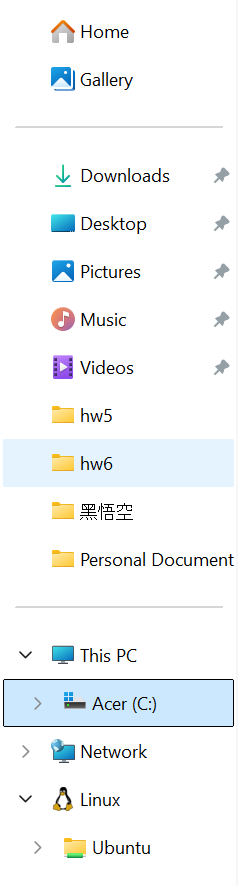
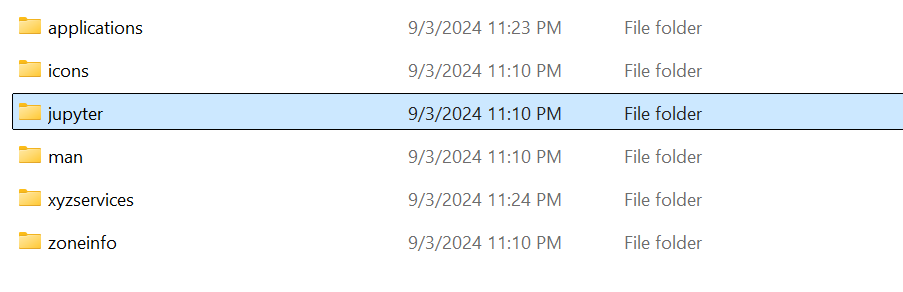
One feature of Jupyter Lab that we will use this semester is the debugger. It is disabled by default. To enable it you will need to edit a text file. Start by opening the file explorer
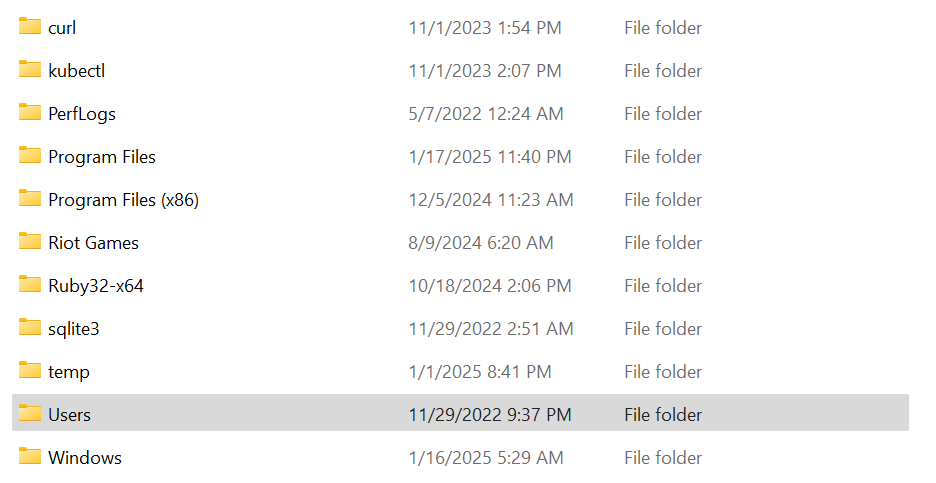
 and in the sidebar, click on your C disk (C:).
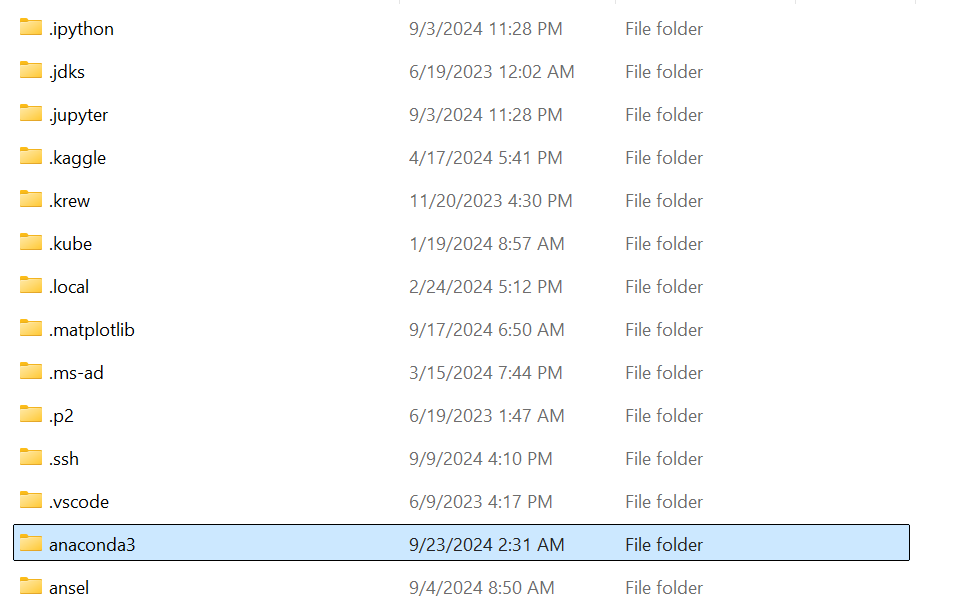
Browse inside the Users folder and select the one that looks like your name (i.e. 'yunha' in the image below).

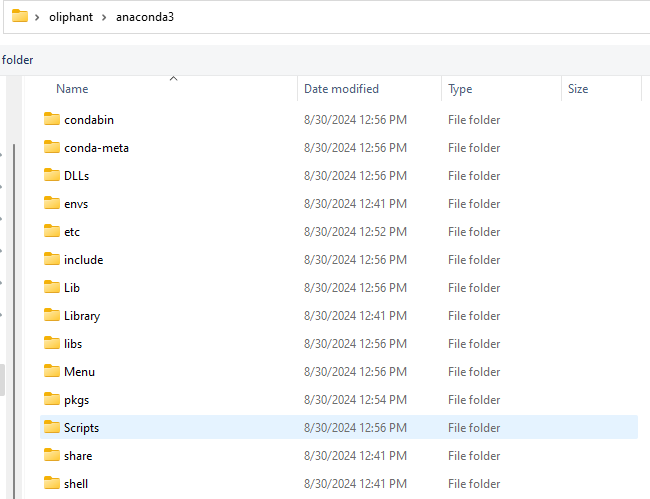
If you install anaconda correctly, you should found a folder name anaconda3 in this folder.
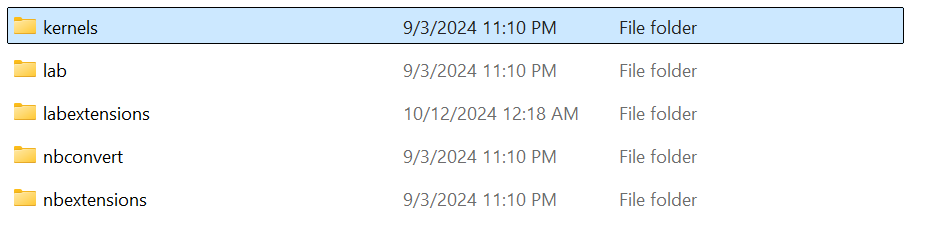
Browse inside the anaconda3 folder. Scroll down a little bit and you should find a folder name share.
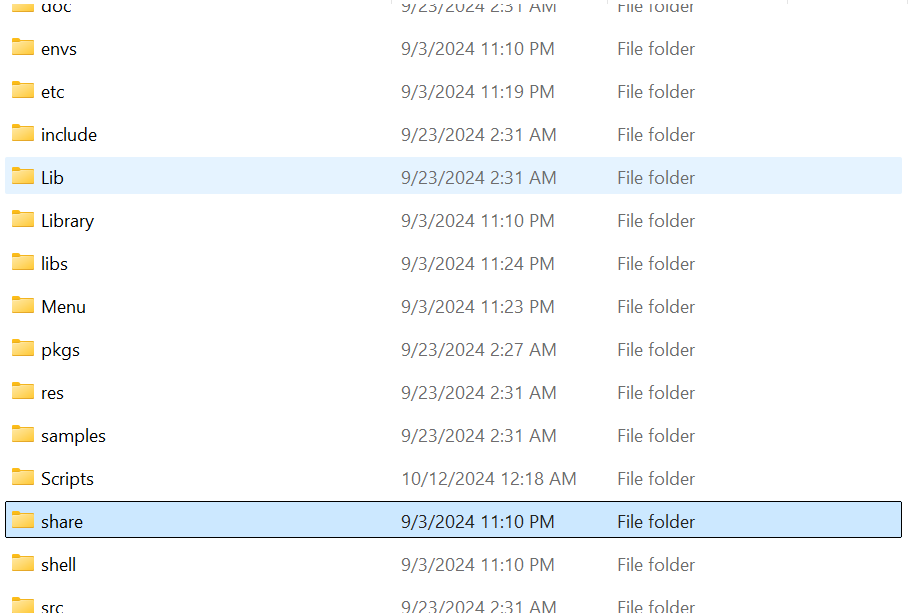
Click share, then click jupyter,kernels, python3 to the share\jupyter\kernels\python3\ folder.

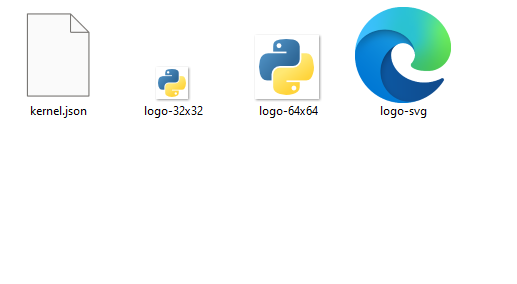
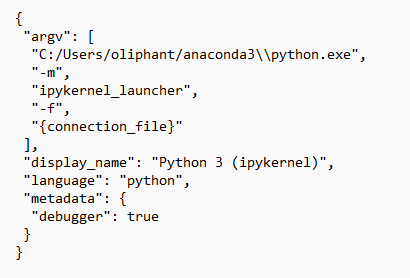
Double click to open the kernel.json file in Notepad.

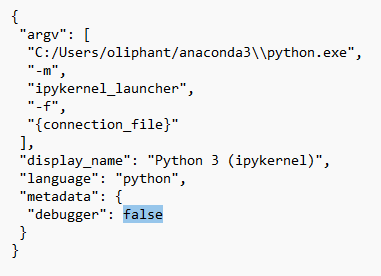
The line that reads "debugger": false needs to be changed to be "debugger": true and then save the file.
4. Associate Notebook Files with Jupyter Lab
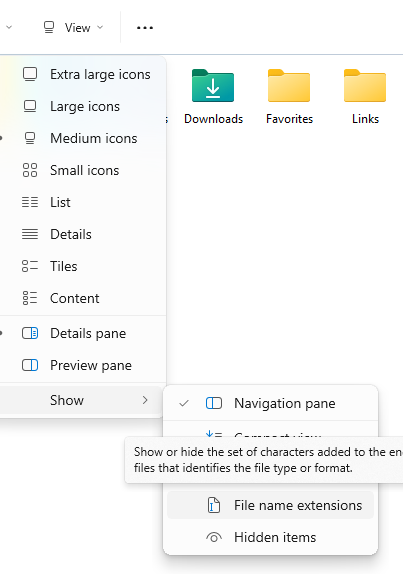
The files that we will be working with this semester are called Jupyter Notebook files. These files have a file extension of .ipynb. You can make it so that when you double click on a file that ends in .ipynb that it will be opened by Jupyter Lab. Download the Test Configuration Notebook which we will use to change the file assocation. Then open your Downloads folder in the File Explorer. At the top of the window, click on the View -> Show -> File name extensions option so you can see the file extension of the notebook file.
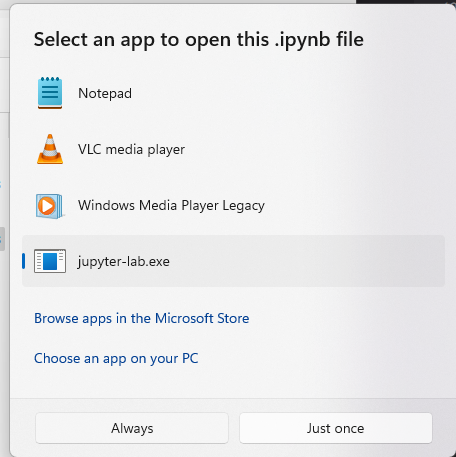
Now double click to try and open the notebook file. It will ask you to select an app to open the file. Click on the Choose an app on your PC
Now similar to part 3, browse to your username and open the anaconda3 folder. But now after you click inside the anaconda3 folder, click into the Scripts folder instead of the share folder. The Scripts folder should be right on top of the share folder. Inside the Scripts folder select jupyter-lab.exe.

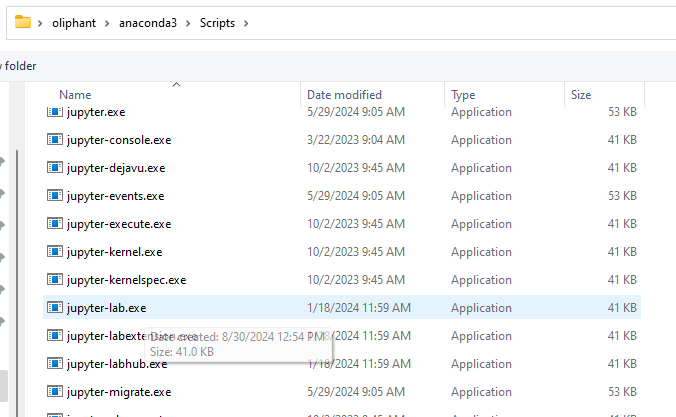
Now click the jupyter-lab.exe option and click the Always button.
5. Test the configuration
Now, whenever you double-click on a Jupyter Notebook file, it should open that file in Jupyter Lab. Follow the steps in the notebook to check your configuration and your software should be installed and configured correctly.
6. FAQ
1) I encounter "'conda' is not recognized as the name of a cmdlet, function, script file, or operable program.". What should I do?
This is likely because "conda" was not set as an environment variables (in part 1). There two ways of solving this problem:
a. Follow the instruction in this link and uninstall Anaconda completely. Then reinstall Anaconda and add "conda" as environment variables as described in part 1.
b. Follow the instrcution in this link and correctly add conda to the environment variables.
2) I could not find anaconda3 folder.
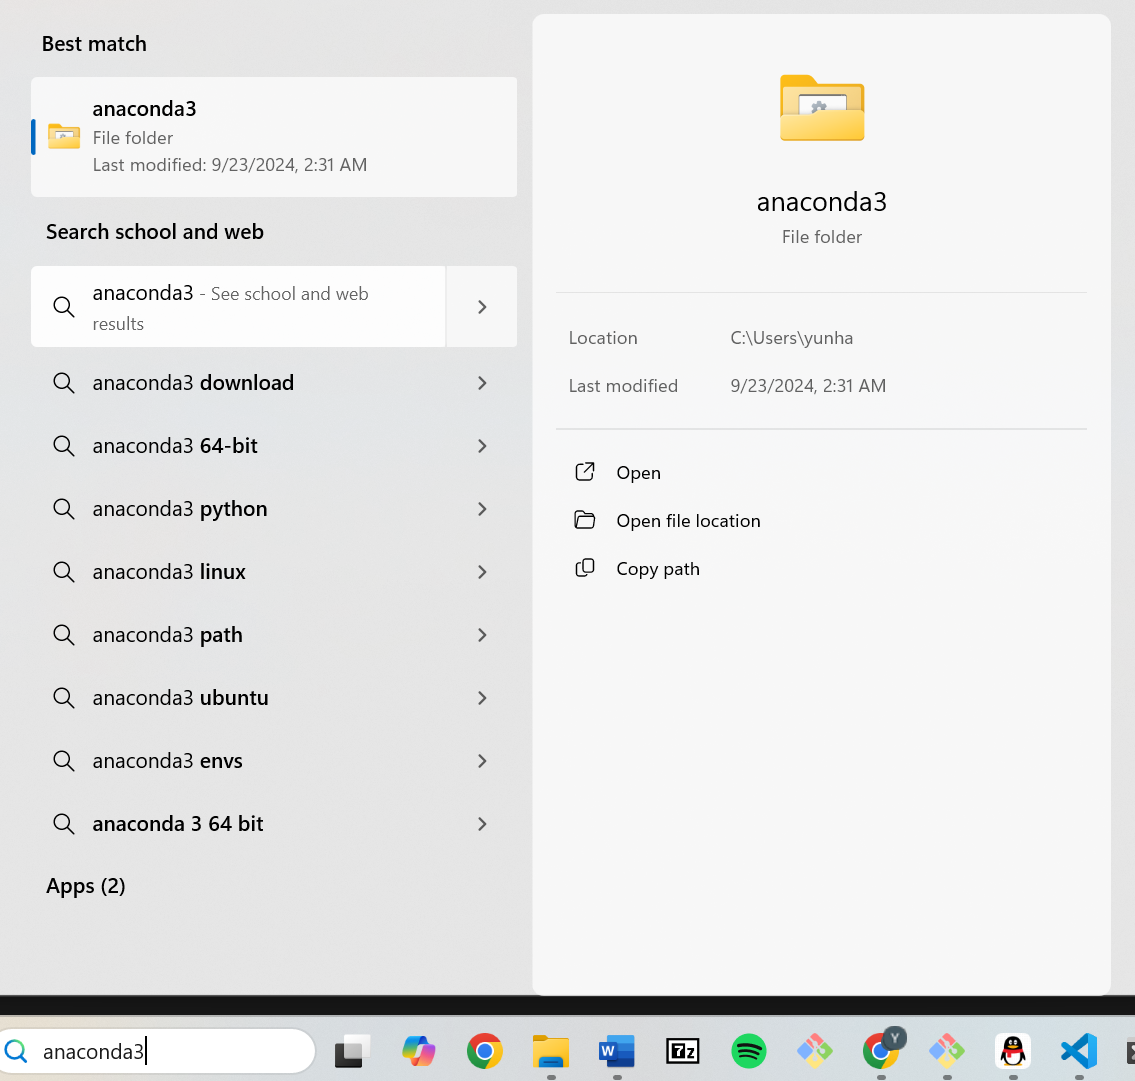
This is likely because you did not install anaconda in the location described above. To check the exact location of the anaconda3 folder, simply search "anaconda3" in the search bar. Once you see the anaconda3 folder as below, click open file location will take you to the folder where anaconda3 is installed.
3) I can't open the notebook with jupyter lab.
This is likely because your default browser is not google chrome. Changing your default browser to google chrome should resolve this issue. This link have instructions on how to set the default browser to chrome.
4) I have python installed previously and is a different version, what should I do?
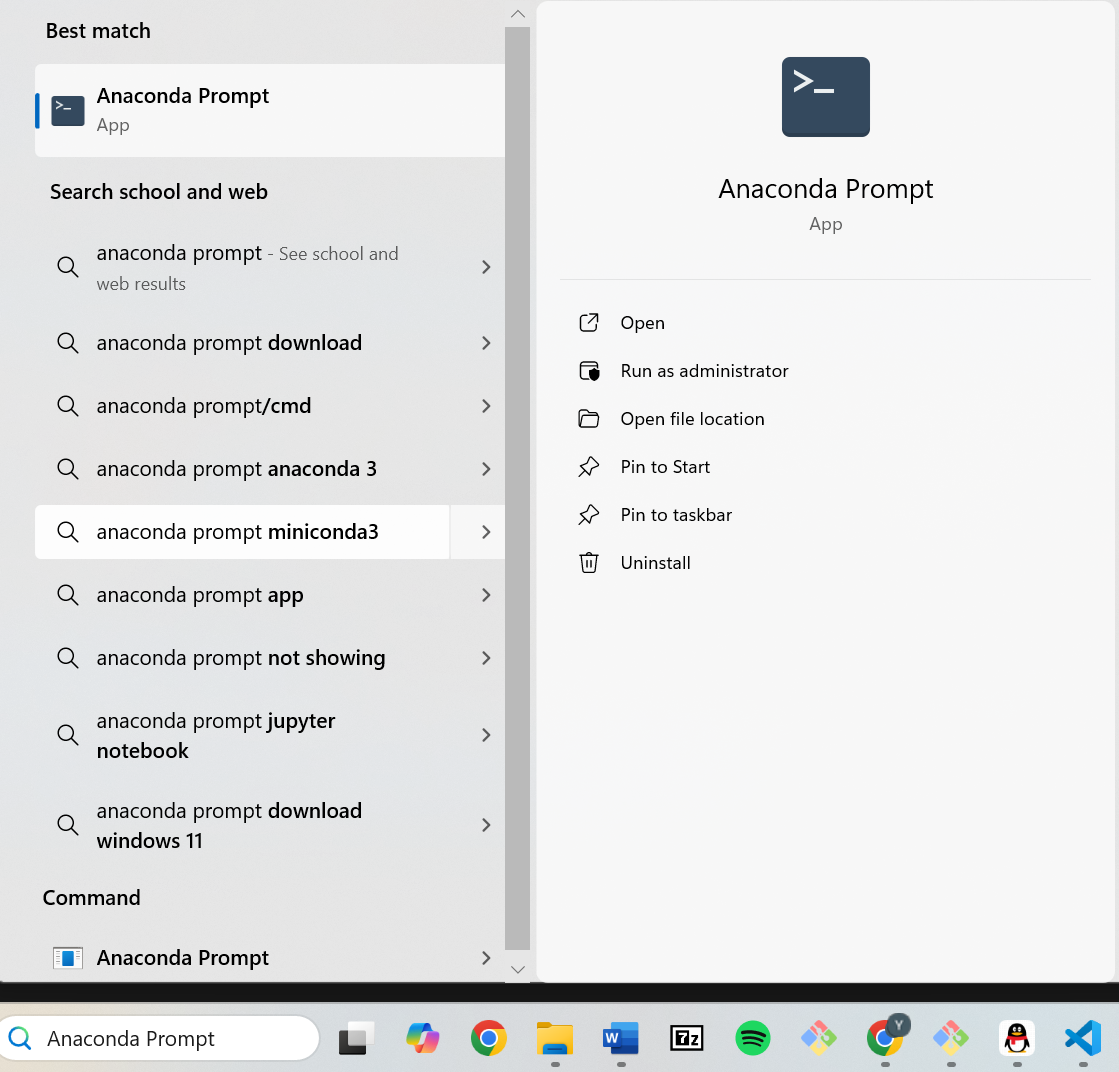
In search bar type "Anaconda Prompt" and you should see an anaconda prompt app as shown in the below image. Click on the anaconda prompt and a command prompt should open up.
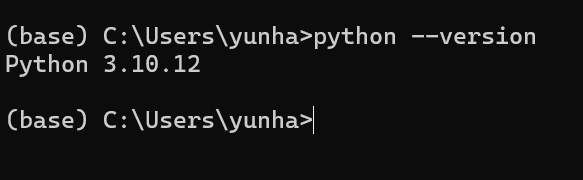
But now you will see a "(base)" in front. This tells you that you are in the conda environment. Now type "python --version" and shift + enter to see what is the current python version in conda environment. If it is not correct, follow the above instruction in the anaconda prompt to install the correct python version.
5) My debugger is not working
Open up the kernel.json file. Double check whether you have correctly changed and saved the content in the kernel.json.
6) I encountered "CodeVerificationError"
During installation of python 3.10.12, you might encountered "CodeVerificationError". The general solution is to uninstalled anaconda and installed it again following this link. You might want to install the "64-Bit Graphical Installer (912.3M)" under the windows logo at the download page. That should fix most of the cases.
7) I encountered "Executing transaction: \ menuinst Exception"
During installation of python 3.10.12, you might encountered "Executing transaction: \ menuinst Exception" error. To resolve this error, first press "ctrl + c" on your keyboard to terminate the installation process. Then type "conda update conda" and press enter on the keyboard. This will install some packages and might take awhile. After the update is done, try running "conda install python=3.10.12" again and you should be able to download python successfully.